Install Xubuntu on BeeLink
Prerequisites
| item | direct link | Notes |
|---|---|---|
| rufus etcher | link | |
| xubuntu 24.04 | link | Desktop edition |
| usb key | 8GB min | |
| Development Computer | This is the PC you'll be using to create the USB. | |
| BeeLink PC | This is the PC will be installing Ubuntu. | |
| HDMI compatible Monitor | You can use one of the Sinkside faucets or any monitor that supports HDMI. | |
| USB Keyboard, or wireless keyboard with USB Dongle | One is typically provided by Mirage. You can't use a Bluetooth keyboard to modify the BIOS settings. |
Burn the Ubuntu ISO
You will only need to do this one time.
- Download the pre-requisites listed above.
- Insert your USB key into your development computer.
-
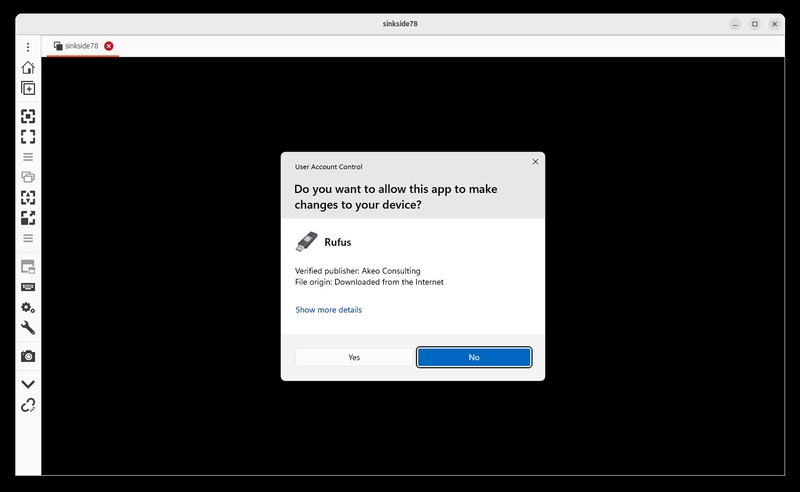
Open Rufus Etcher
-
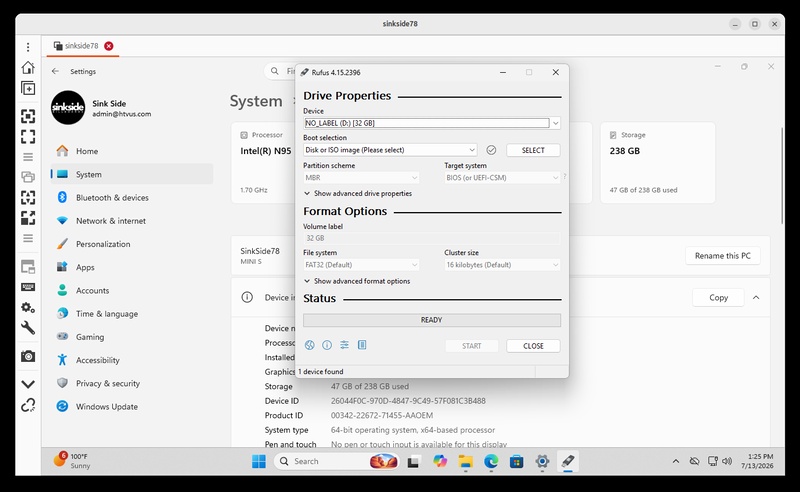
Select the USB Key you inserted
-
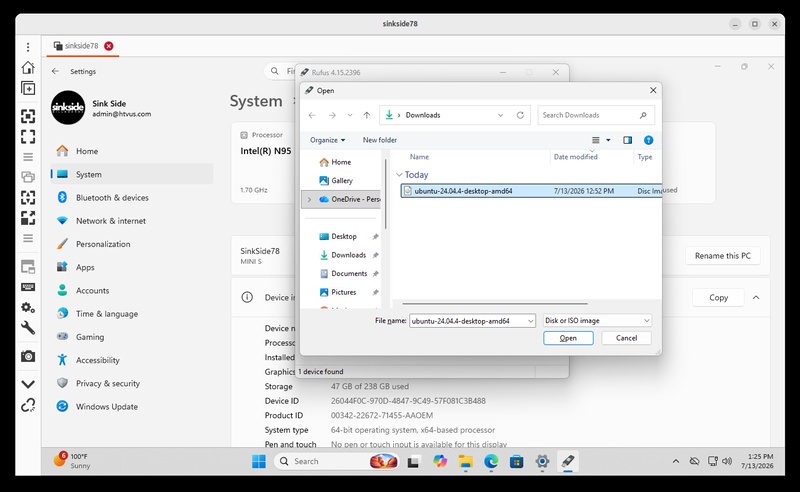
Select "Disk Or ISO Image" and then select the ISO file of Ubuntu that you downloaded.
-
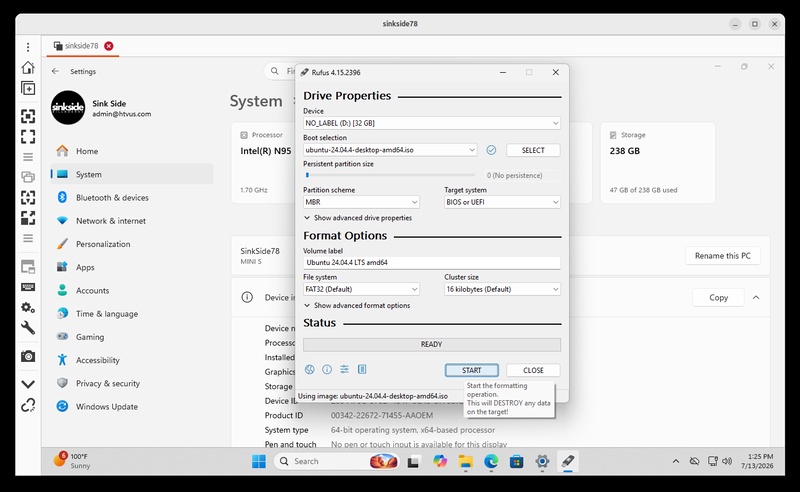
Keep all other defaults and hit "start"
-
Follow the prompts to burn the image to your USB.
-
Select ISO mode
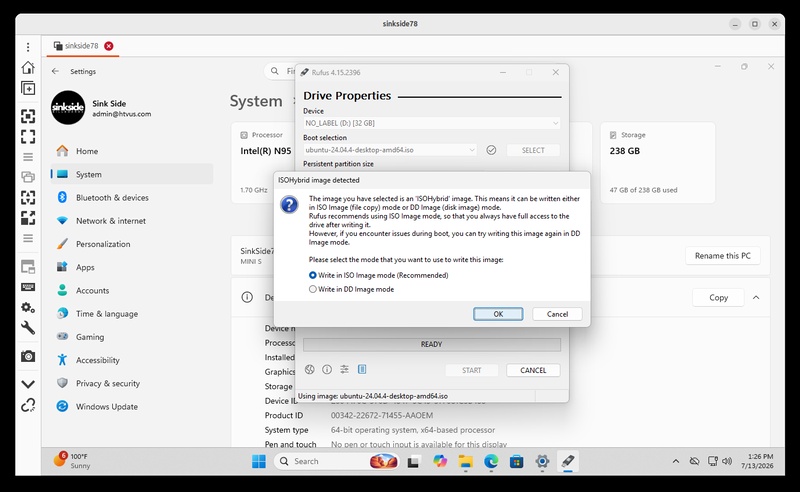
-
Select yes to download the right version of GRUB
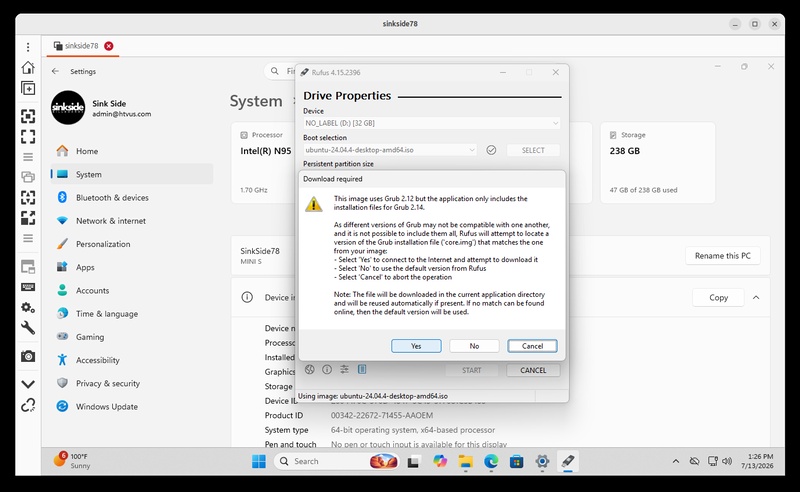
-
Select yes to confirm
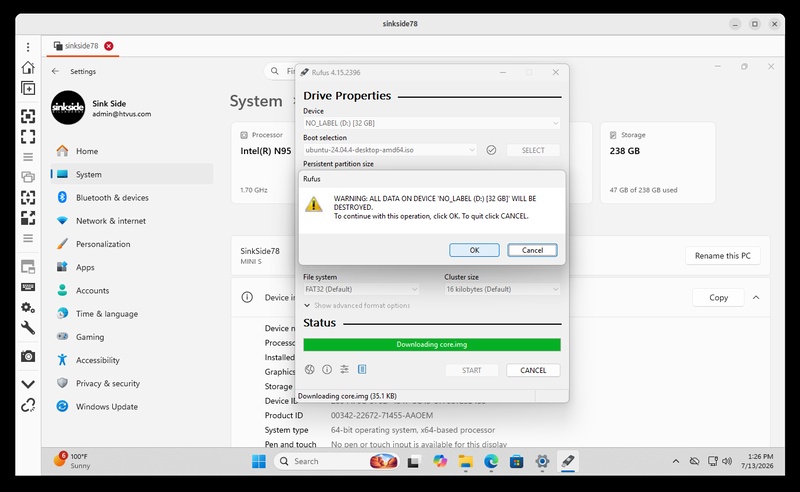
-
-
Once it's complete, remove the USB key from your development computer.
Prep for Install
-
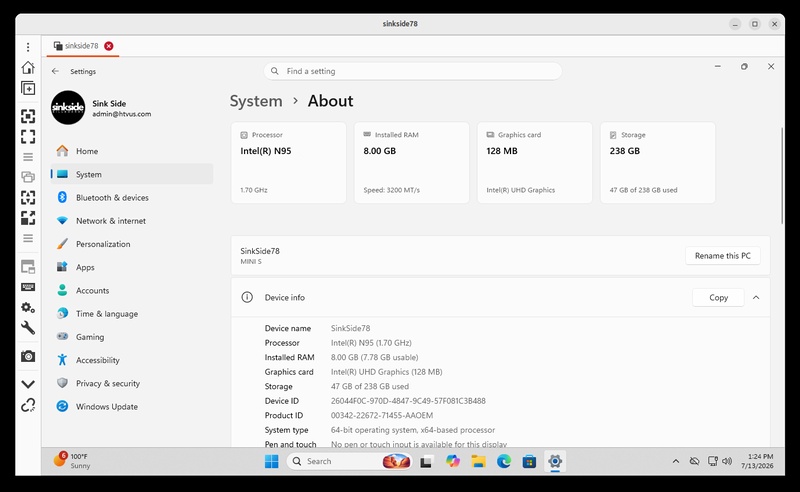
Note the computer's name. This is either labeled on the top of the PC, or indicated in the machine name on windows
-
To find it's name in Windows, go to Settings --> Home or Settings --> System --> About
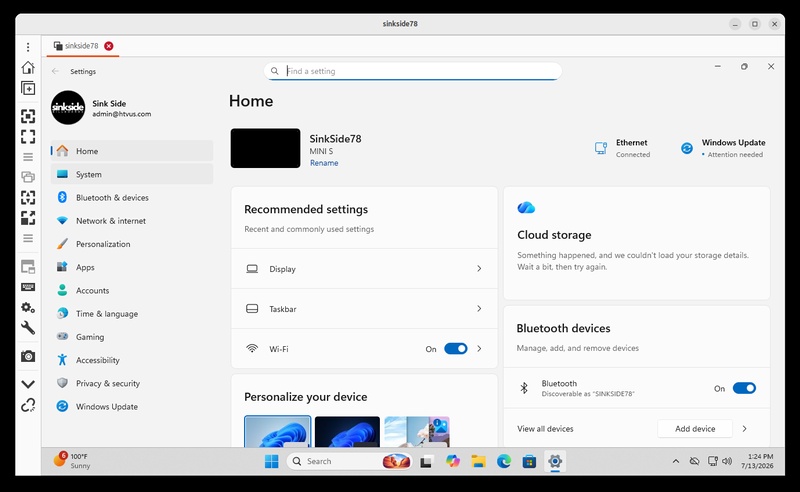
-
-
Turn off the BeeLink PC
- Insert the USB key into the BeeLink PC
-
You will need to select a new boot order in order for the USB key to be recognized as the first boot device.
- Restart the BeeLink PC
-
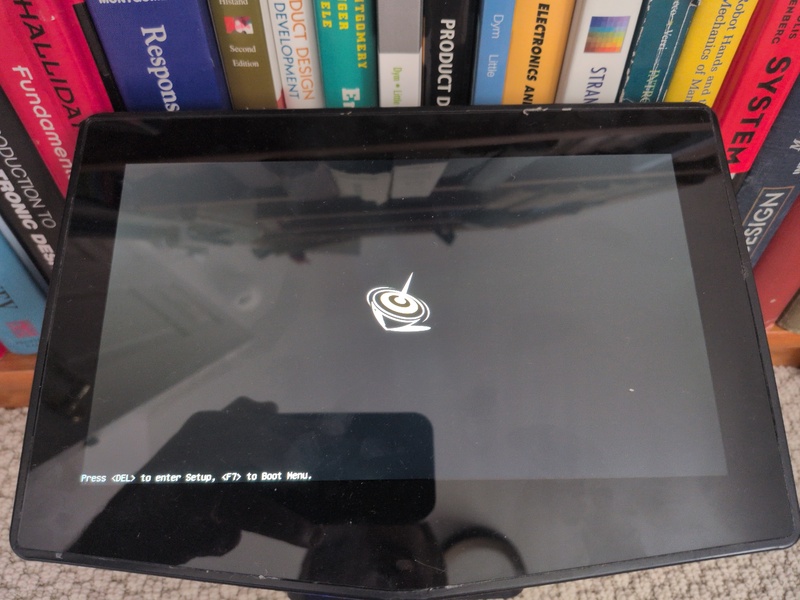
Once you see the BeeLink logo appear, press F7. You will be led to a boot menu
-
Select the first option of your USB key (not "built-in EFI Shell"). The USB key will be selected.
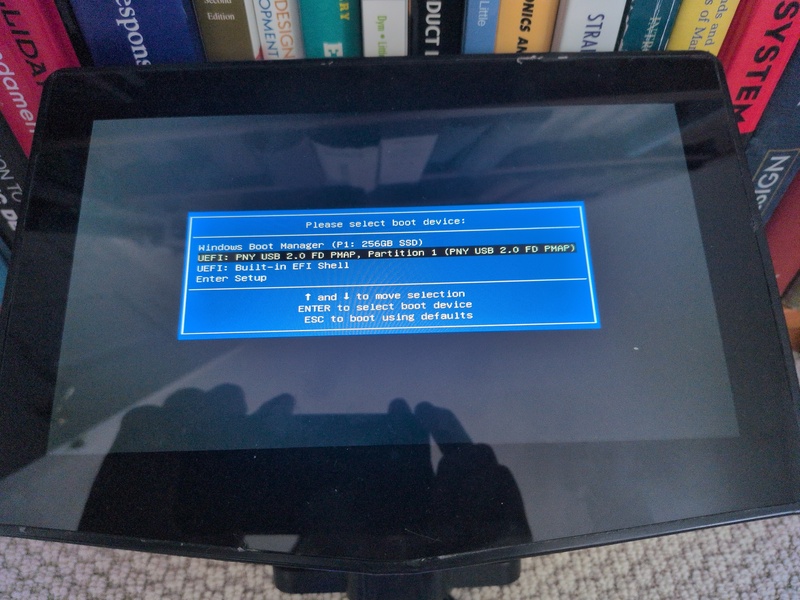
If the windows loading circle appears, you may need to repeat the process.
-
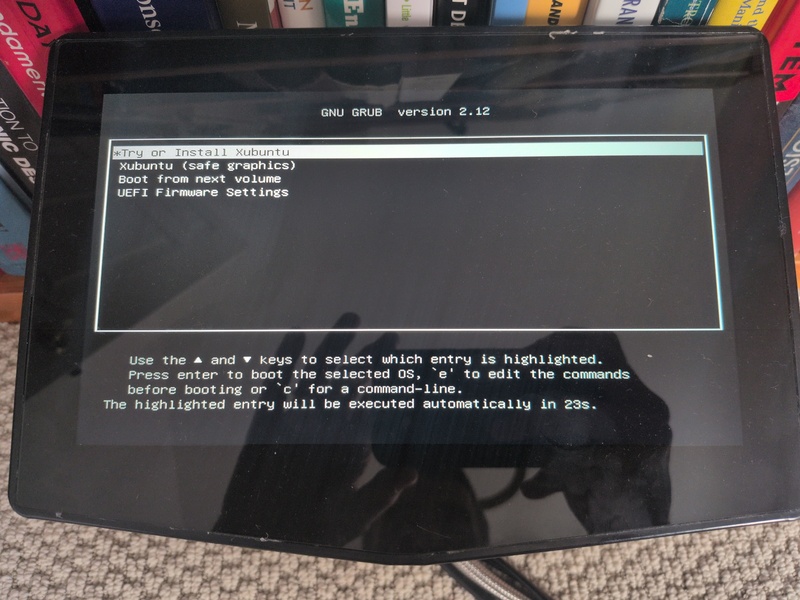
Select "Try or Install Ubuntu" from the subsequent menu.
Install Ubuntu
-
The xfce desktop will load. If it doesn't start, click on the desktop icon to start the installation proces
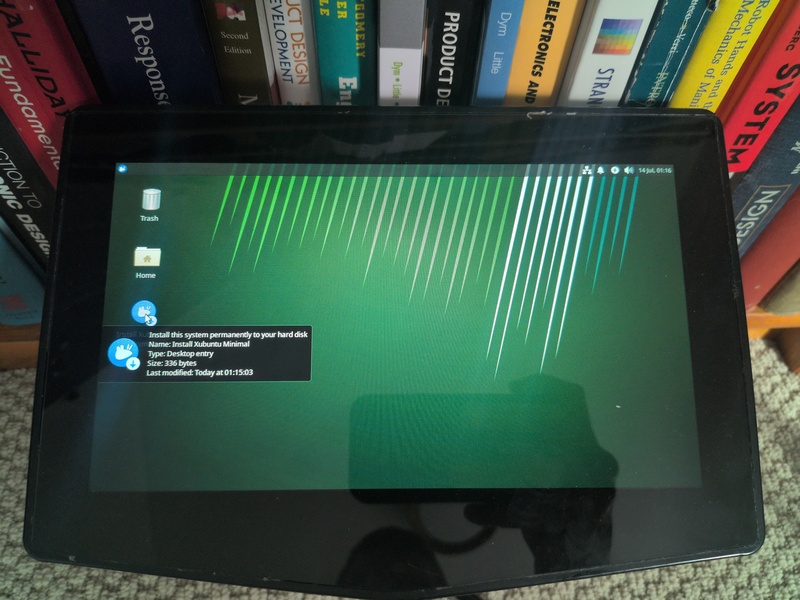
-
Accept all default settings to install Ubuntu 24.04, with the following notes:
-
Do not connect to internet during installation. (We will later)
-
If it says "An update is available", skip to continue
-
Select the option to Install Xubuntu
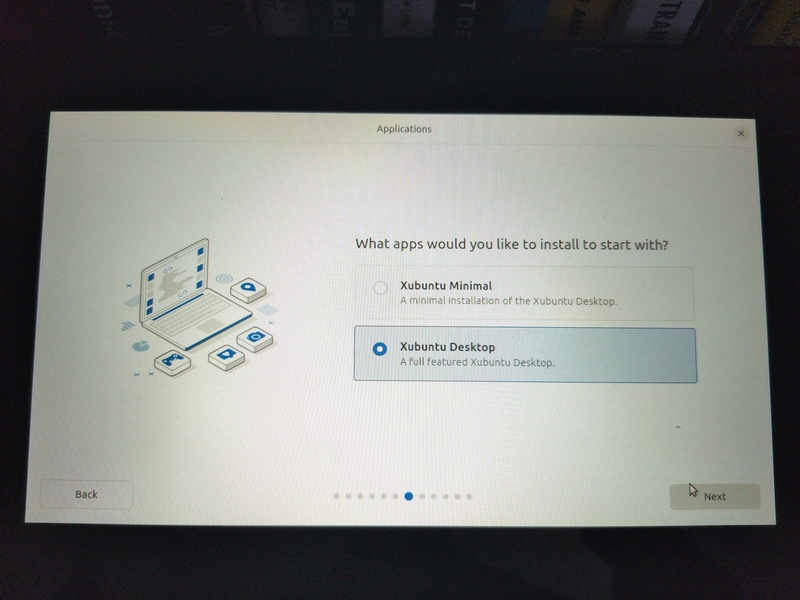
-
Select "Interactive Installation"
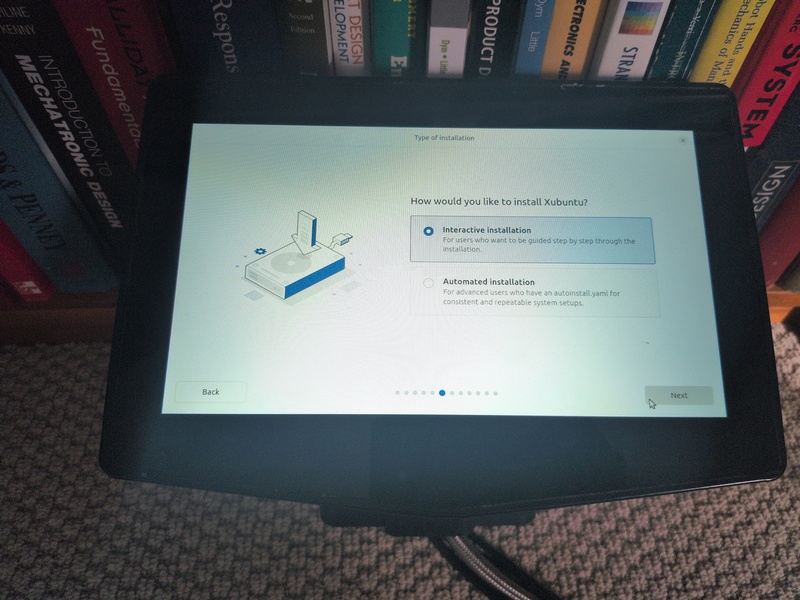
-
Select "Default Selection"
-
Do not select any proprietary software
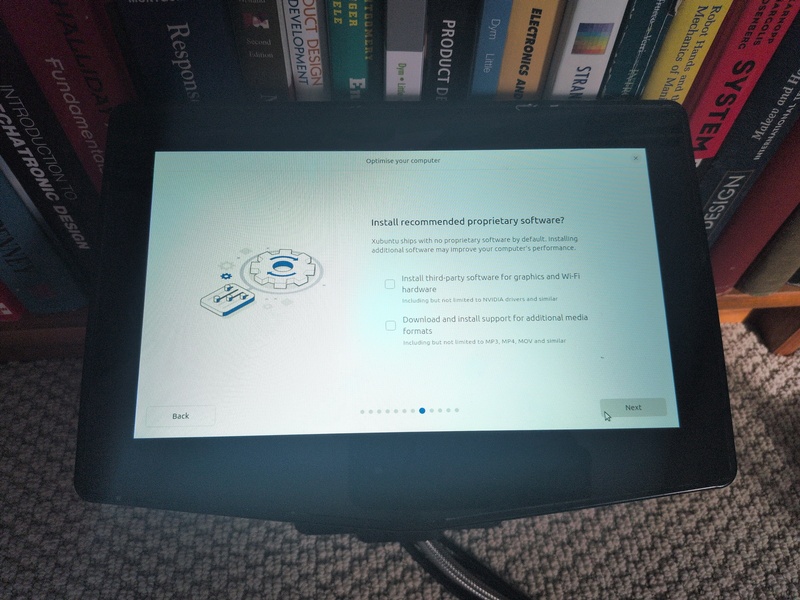
-
When it asks how you want to install, select "Erase disk and install Ubuntu"
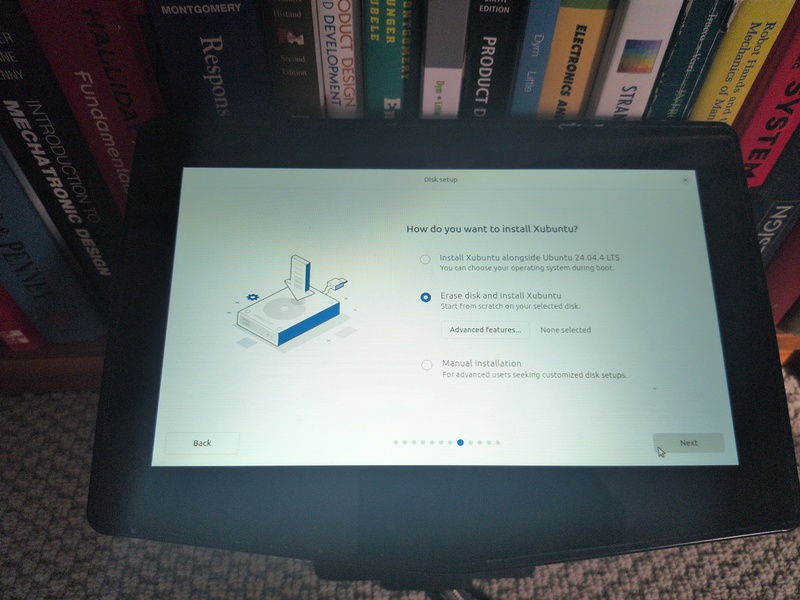
-
-
Account Info:
- For First/Last Name, type
ssadmin - For username, type
ssadmin. - For password, type
ssadmin. (We will change this immediately in subsequent steps.) -
For computer name use the same computer name as previously noted, without capitalization, e.g.
sinkside78. Please make sure that the name of the PC correctly reflects its labeling.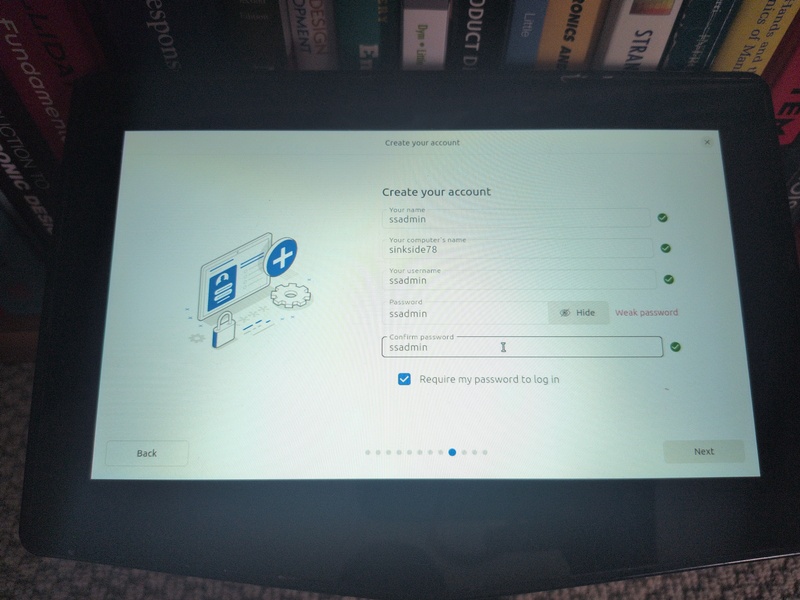
- For First/Last Name, type
-
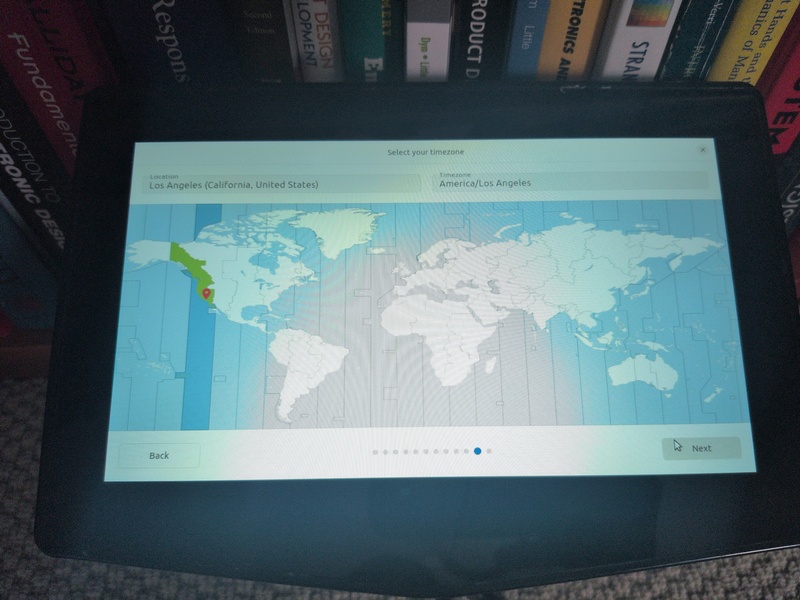
Select America/Los Angeles by clicking on the map near LA
-
Once the installation is complete, accept the dialogue to reboot the PC, removing the USB key when prompted.
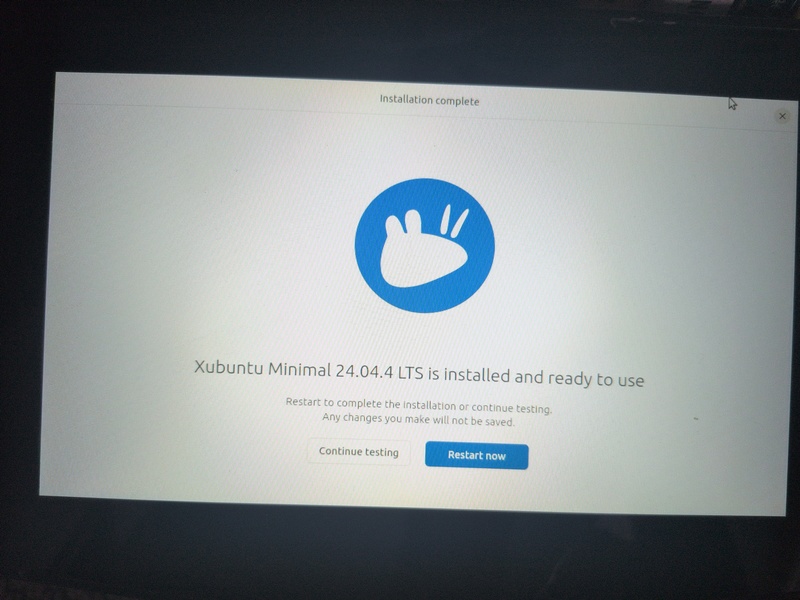
If you don't see a prompt after 5 min, just remove the key and press enter.
 1. Let the installation complete.
Initial Configuration
-
After reboot sign in using
sadmin/ssadmin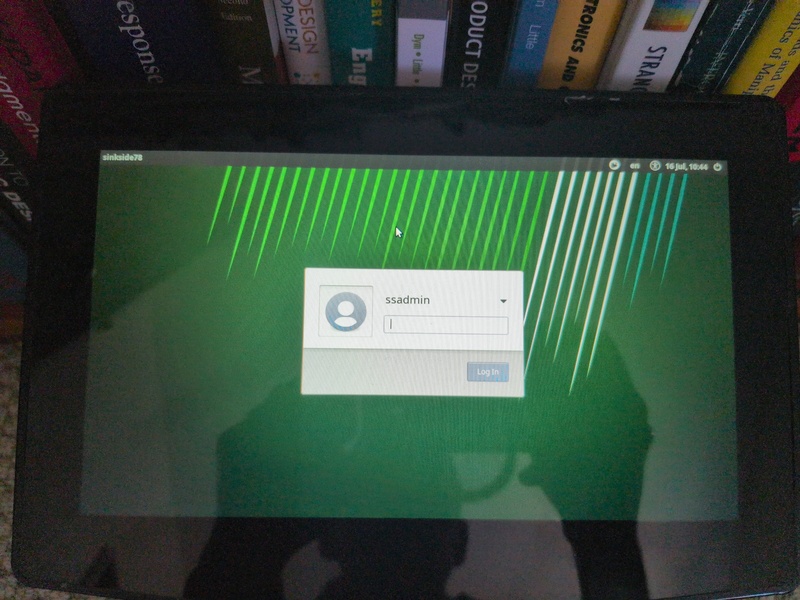
-
From the start menu, open up firefox
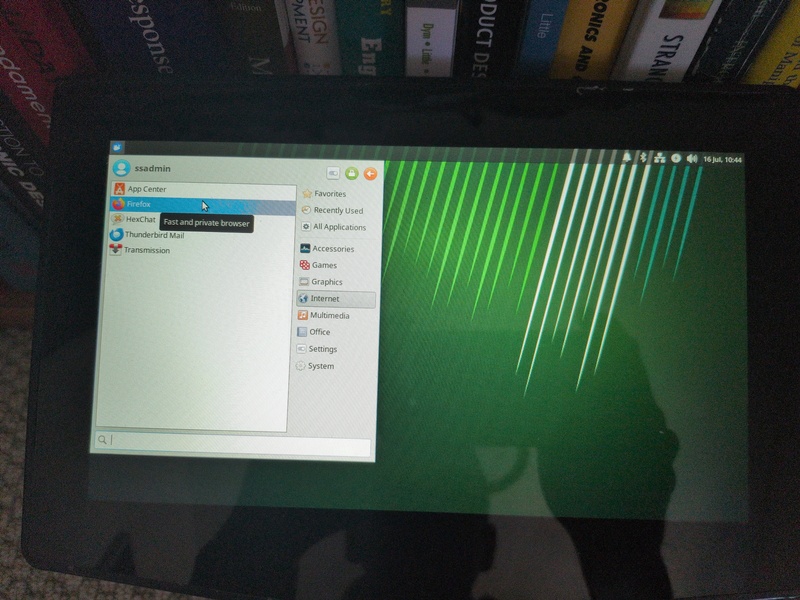
-
The InHand Router should already be configured for connectivity, but you can also connect the beelink's wireless adapter.
- Use the Wi-Fi tool in the top right corner of the desktop to connect the BeeLink to your Wi-Fi.
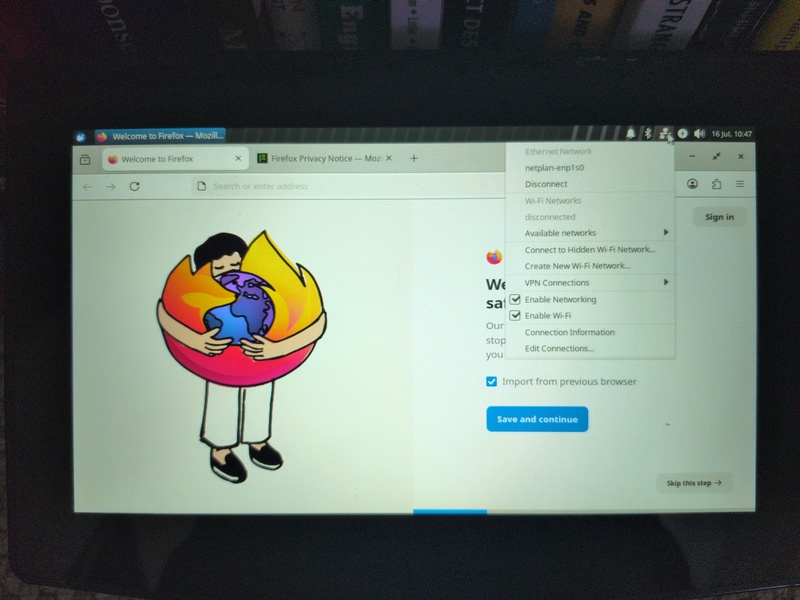
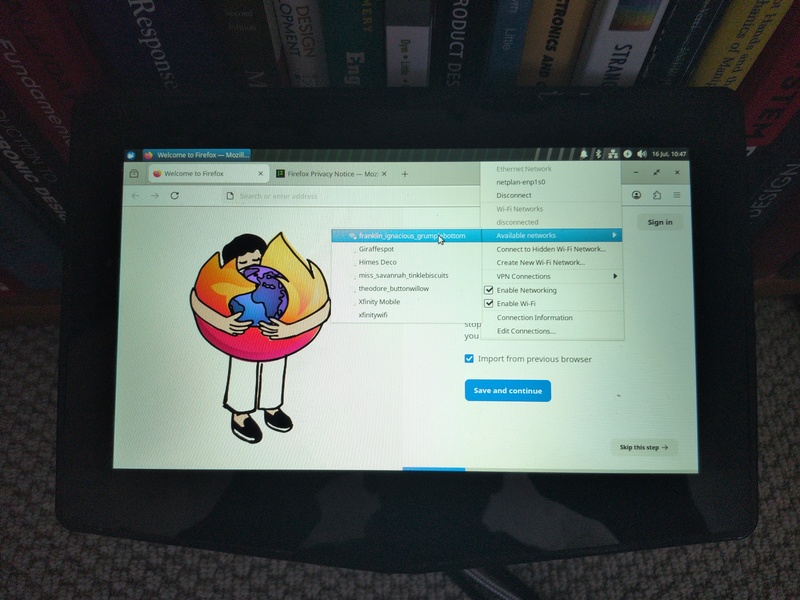
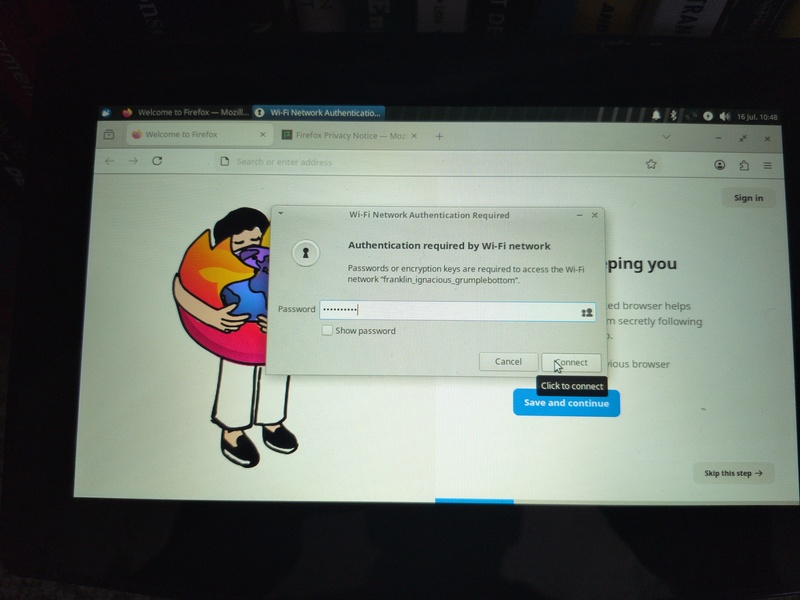
-
navigate in firefox to these instructions, posted at https://danaukes.com/notebook/sinkside/insall-xubuntu
You can use copy/paste directly from the page for the rest of the instructions
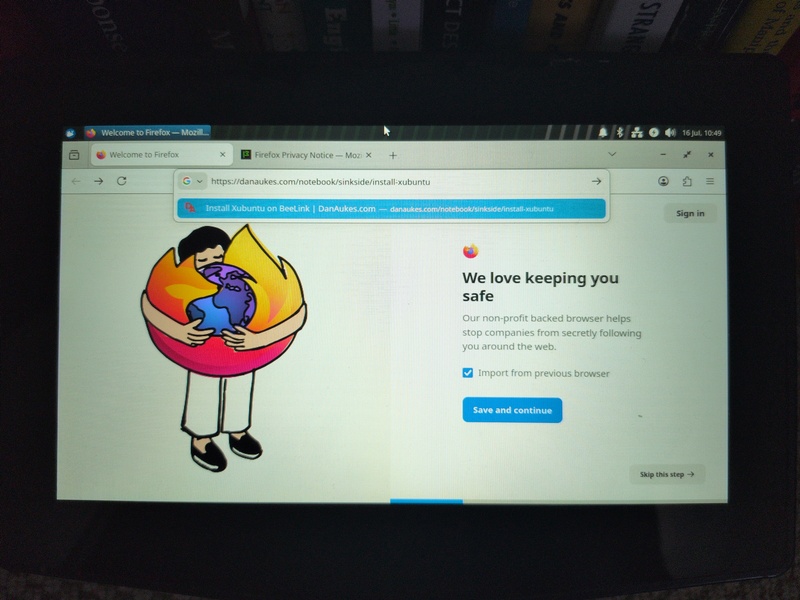
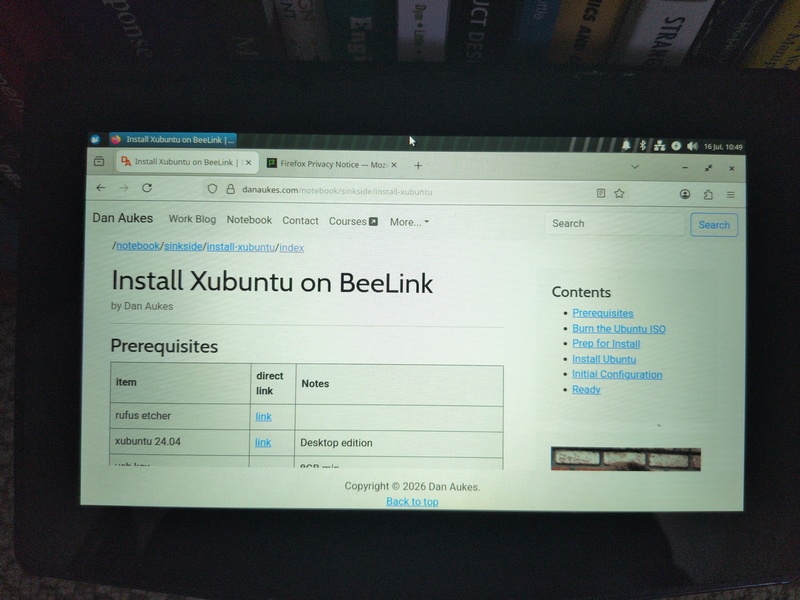
-
Open up a command prompt using
ctrl+alt+t. -
Type/paste in the following:
in the terminal window, you copy with
ctrl+shift+cand paste withctrl+shift+vsudo apt update sudo apt install -y openssh-server curlsupply your password when prompted
-
Install netbird with the following command:
curl -fsSL https://pkgs.netbird.io/install.sh | sh -
Type
Yto continue the installation of problem. - Use your password if asked to provide it.
-
Once installation is complete, type in the following:
netbird up -m https://vpn.sinksidebillboards.com -
A browser should pop up. Sign in to the vpn using the username/password provided to you by sinkside admins.
If you are asked whether to update the PC, select skip. This will be done in a separate step:
Ready
Reach out to Dan or Clemen to verify that the PC is online and visible from their PC. They will continue the installation from there.