Sonoff S31 Smart Plug Mod
Steps
- Pop off gray cover
- Slide out white slidy corner pieces
- unscrew three exposed screws
- disassemble main board
-
make a quick jig for flashing:
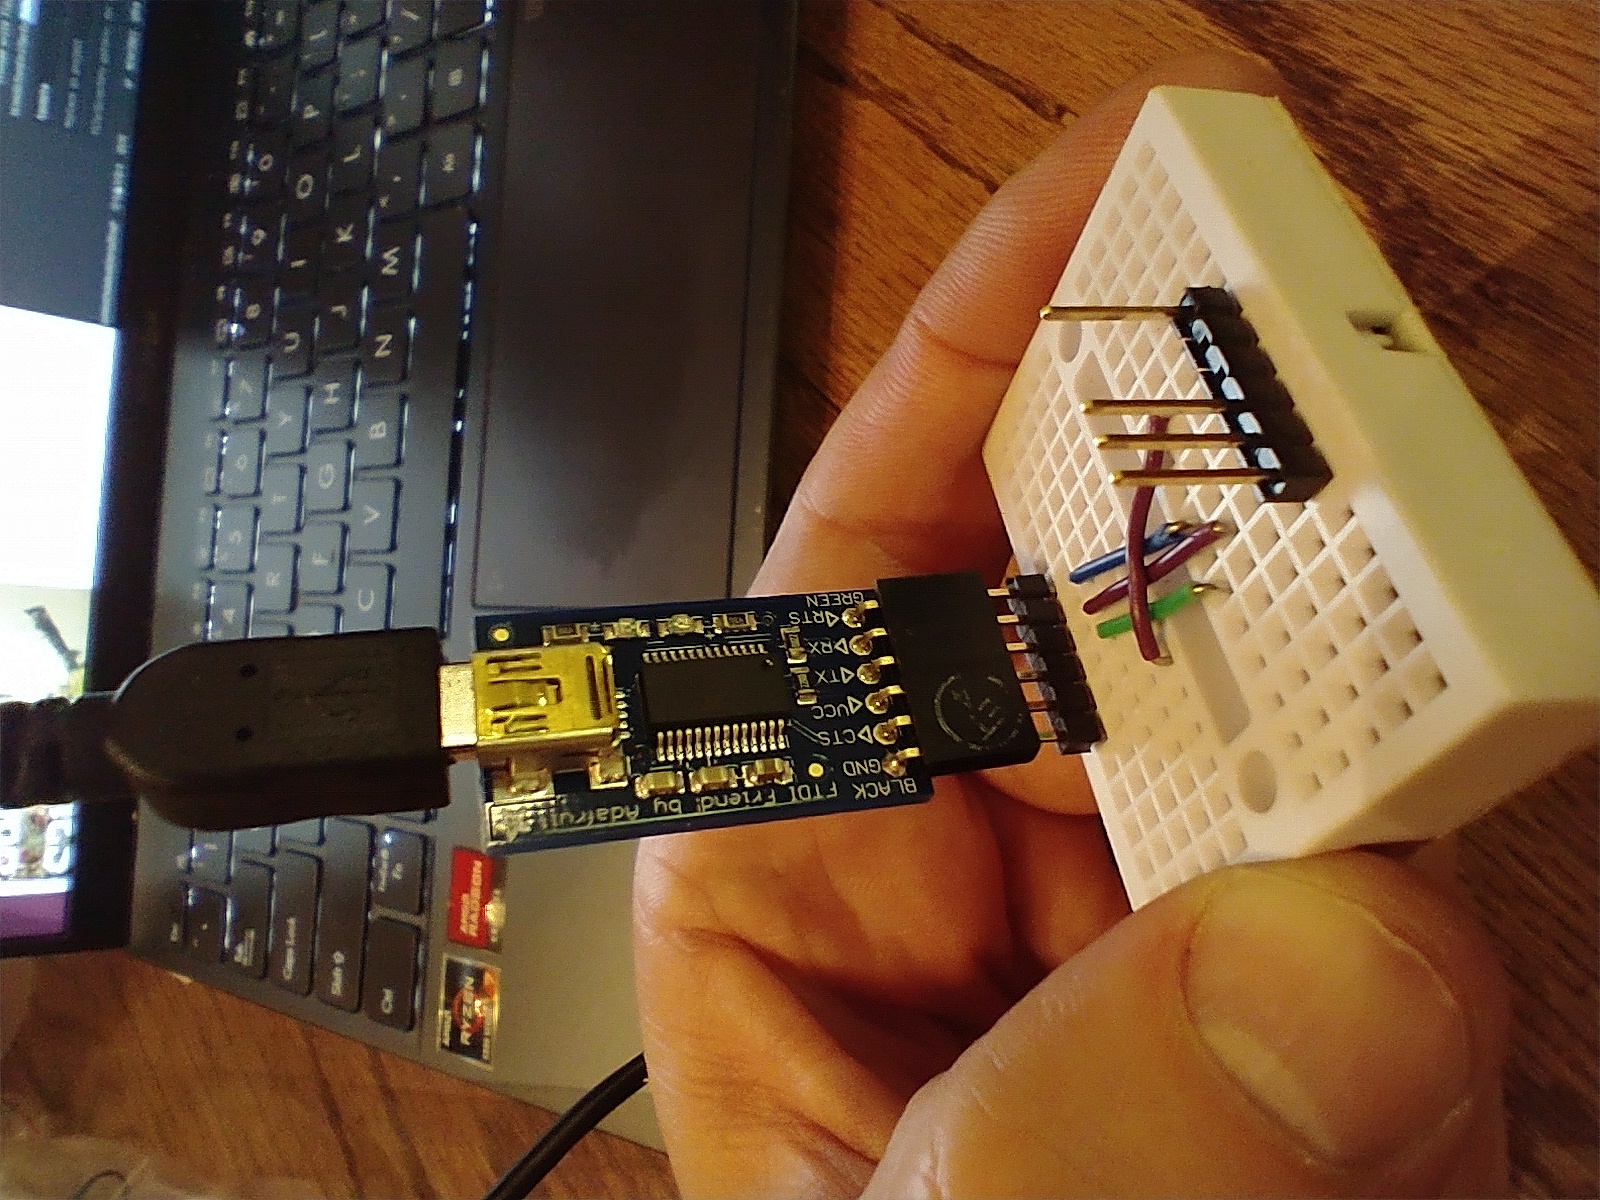
- get 2 double-sided, 1x6 header pins
- plug one into a ftdi friend (adafruit)
- match up wires, ensuring RX --> TX and TX --> RX
- Configure the FTDI friend for 3.3v VCC and 3.3V logic
- pull out the 2 pins for D-RX and D-TX, they aren't used
- press the button and align the new jig to the sonoff's pins
- While connected, run the following two commands in order
python -m esptool --port /dev/ttyUSB0 erase_flash python -m esptool --port /dev/ttyUSB0 write_flash -fm dout 0x0 Downloads/tasmota.bin -
Find the tasmota device Wifi SSID, connect, and set up your home wifi
- connect to the new ip address and configure further, from here
SetOption19 on
- set up mqtt
- go to configuration --> mqtt
-
define the server, port, and any other advanced settings you might need.
-
For ESP32 devices, get the tasmota32.factory.bin
esptool.py --chip esp32 --baud 921600 --before default_reset --after hard_reset write_flash -z --flash_mode dout --flash_size detect 0x0 tasmota32.factory.bin
- relay pulse time
https://tasmota.github.io/docs/Commands/#control
Resources
Sonoff Specific:
- https://tasmota.github.io/docs/devices/Sonoff-S31/
- https://tasmota.github.io/docs/Flash-Sonoff-using-Raspberry-Pi/
- http://lukeknipe.com/s31-tasmota/
- https://www.youtube.com/watch?v=kKtLKjI4wA0
- https://templates.blakadder.com/sonoff_S31.html
- https://siytek.com/how-to-set-up-tasmota-mqtt-auto-discovery-for-home-assistant/
Tasmota Documentation