Create a new PyMakr Project
Create PyMakr Project
-
Next we're going to create your first pymakr project. Navigate back to the file explorer (
ctrl+shift+e)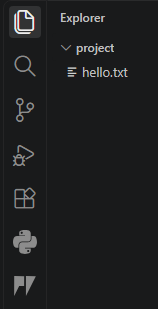
-
In the explorer window on the left, look to the bottom and expand the pymakr block:
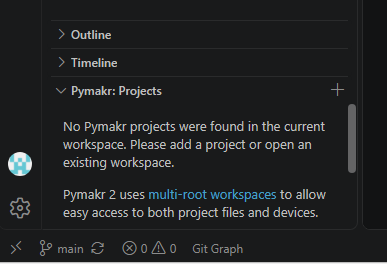
-
click on the plus sign to define a new pymakr project:
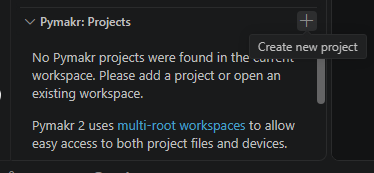
-
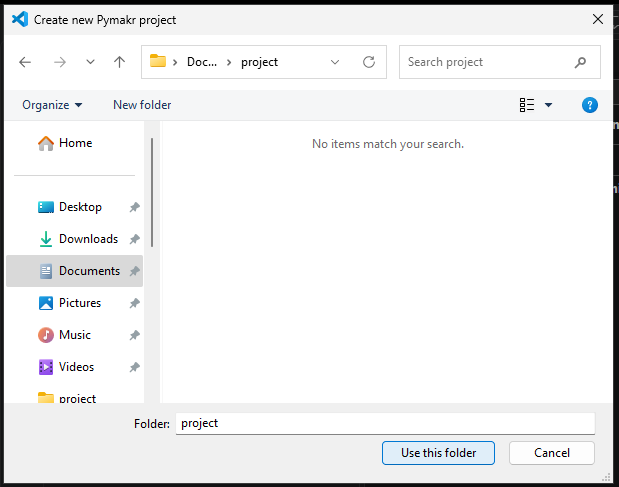
select the location of your project folder
-
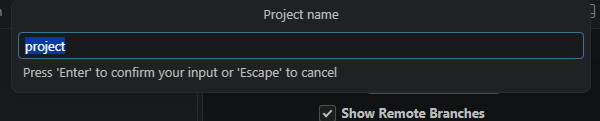
In the top ribbon, press enter to accept the name of the folder as the project name (or type in a new project name)
-
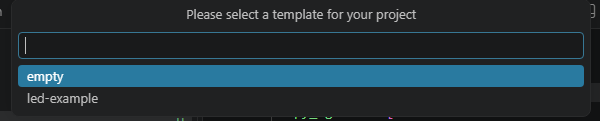
Select "empty" for your template
-
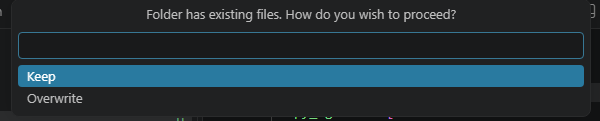
Keep the existing files in your project by selecting "keep".
-
For now, skip adding any devices. We will add one in a minute.
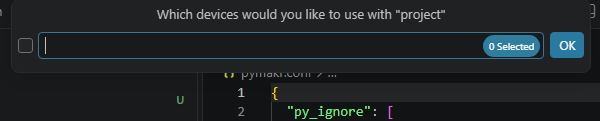
-
Update the ignore list in
pymakr.conf, replacing"venv"with
"venv",
"pymakr.conf"
Add a Device
-
In the left window of VSCode, expand the PyMakr tab, find your project, and click on "Add Devices"
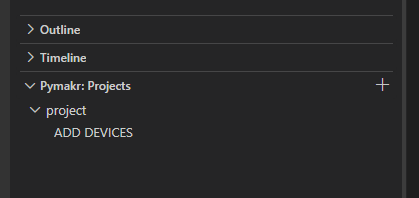
-
If your device is found, it will hsow up in the top command bar. Please select the appropriate device.

-
Back in the PyMakr Project area of your workspace, you should see a new device listed along with several icons. Click on the lightning bolt next to your device to connect the device
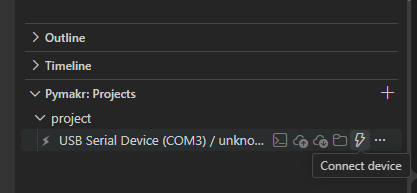
-
Open a Python REPL (python interactive terminal) by selecting the left-most icon (that looks like a terminal prompt):
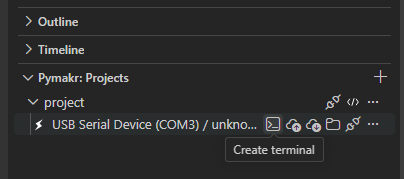
-
enter
print('hello world')and see what happensThis session is interacting directly with your ESP32 Device over USB!
Overview of other functions
 : Connect to the device. You must do this before any other icons are enabled
 : Disconnect device. This will disable all functions and allow other programs to connect.
 : Open ESP32 Files as a directory in VSCode's file explorer.
 : Sync all files from the device to your project.
 : Sync All Files to your device
 : Open REPL (python interactive terminal)
-
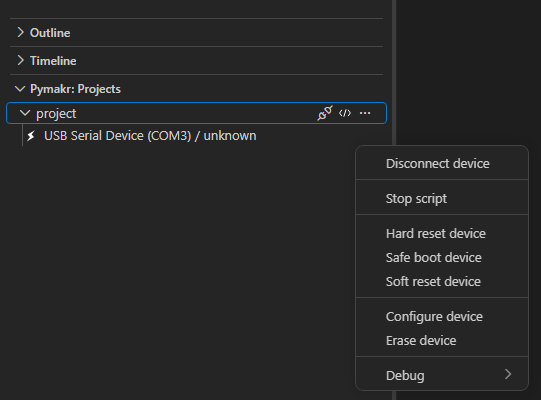
 : The "device" submenu has additional useful functions:
- Disconnect Device
- Stop Script
- "Hard Reset Device" will perform a hardware-based microcontroller reset
- Safe Boot Device
- "Soft Reset Device" will restart the micropython interpreter without a hard reset.
- Configure Devicev
- "Erase Device" will remove all the files stored on your device
- Debug