Development Environment Setup
We walk through the steps required to prepare your development computer, from required software to initial configurations. This tutorial is windows / linux compatible.
Introduction
Call To Action
This tutorial is part of a bigger course called "Intelligent Product Design", which I am building out at https://backpack.danaukes.com/course/intelligent_product_design/. Please pardon the dust as I build it out.
If you just want the tutorial, you're in the right spot. But, if you need a little more, such as live lectures, a discussion board, or a community of other students, consider enrolling once the course opens. For now, please feel free to explore https://backpack.danaukes.com.
Set up Your Computer (Windows)
- Open powershell in administrator mode. Type
win+xthena. -
Install choco
Set-ExecutionPolicy AllSigned [Net.ServicePointManager]::SecurityProtocol = [Net.SecurityProtocolType]::Tls12 Set-ExecutionPolicy Bypass -Scope Process -Force; [System.Net.ServicePointManager]::SecurityProtocol = [System.Net.ServicePointManager]::SecurityProtocol -bor 3072; iex ((New-Object System.Net.WebClient).DownloadString('https://community.chocolatey.org/install.ps1')) -
Wait for it to install
- Close the powershell window and reopen a new window in administrator mode with
win+xthena. -
install the following packages
choco install -y git.install python3 vscode -
Close the powershell window when complete
Set up git
-
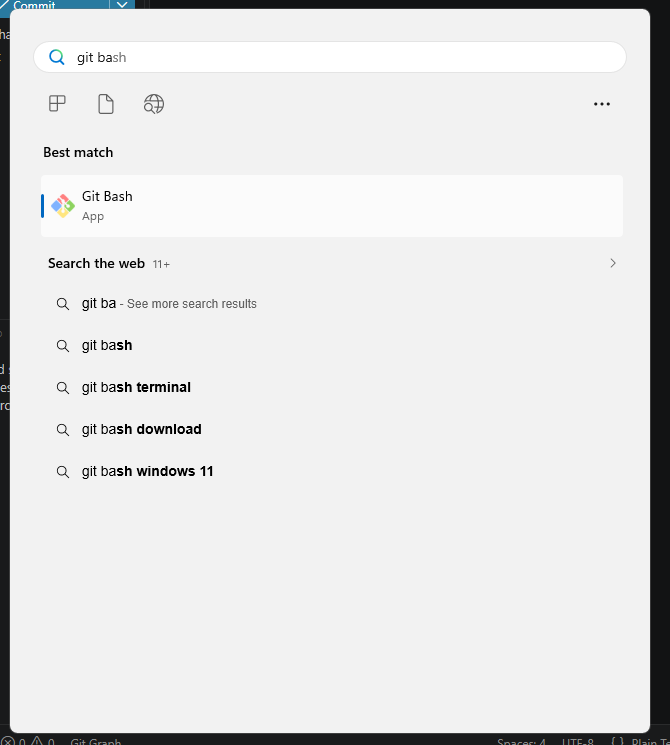
open "Git Bash" in the start menu
-
provide your email and name by providing the following commands, taking care to replace the email and name with your own:
git config --global user.email "your-email@address.com"
git config --global user.name "Your Name"
For example,
git config --global user.email "danaukes@danaukes.com"
git config --global user.name "Dan Aukes"
Set up VSCode
You can install all the extensions this in a single cut-paste operation from Windows Powershell.
- Type
win+xthenito open a fresh powershell window -
Once powershell opens, paste in the following:
$extensions = @("donjayamanne.githistory", "mhutchie.git-graph", "ms-python.black-formatter", "ms-python.debugpy", "ms-python.pylint", "ms-python.python", "ms-python.vscode-pylance", "ms-python.vscode-python-envs","pycom.pymakr-preview") foreach ($extension in $extensions) { Invoke-Expression "code --install-extension $extension" } -
You can also import my settings and keybindings. On windows, paste this into a fresh powershell window
$URL="https://files.danaukes.com/notebook/vscode-setup/settings.json"
$DEST="$HOME\AppData\Roaming\Code\User\settings.json"
Invoke-WebRequest $URL -OutFile $DEST

$URL="https://files.danaukes.com/notebook/vscode-setup/keybindings.json"
$DEST="$HOME\AppData\Roaming\Code\User\keybindings.json"
Invoke-WebRequest $URL -OutFile $DEST
Set up Your Computer (Linux)
Install and Configure VSCode (Linux)
curl -L -o vscode.deb "https://code.visualstudio.com/sha/download?build=stable&os=linux-deb-x64"
sudo dpkg -i vscode.deb
sudo apt install -yf
You can install all the extensions this in a single cut-paste operation from bash
list="donjayamanne.githistory
mhutchie.git-graph
ms-python.black-formatter
ms-python.debugpy
ms-python.pylint
ms-python.python
ms-python.vscode-pylance
ms-python.vscode-python-envs
pycom.pymakr-preview"
for item in $list
do
code --install-extension $item
done
- You can also import my settings and keybindings. On windows, paste this into a fresh powershell window
mypath="$HOME/.config/Code/User/"
curl https://files.danaukes.com/notebook/vscode-setup/settings.json -o "$(echo $mypath)settings.json"
curl https://files.danaukes.com/notebook/vscode-setup/keybindings.json -o "$(echo $mypath)keybindings.json"
Create a new project folder
- Navigate to the location on your computer where you keep your projects (Say
C:/users/your_user_name/documentsor/home/your_user_name/projects/) - Create a new folder to serve as your project folder. We will call it
intelligent-project-designin this tutorial.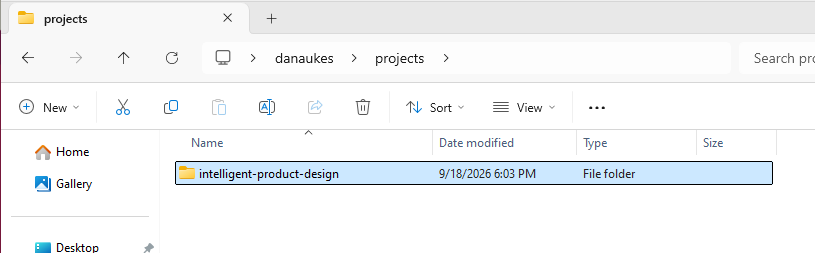
-
Open the folder in VSCode
-
In windows explorer, right click on the folder and select "open with Code".
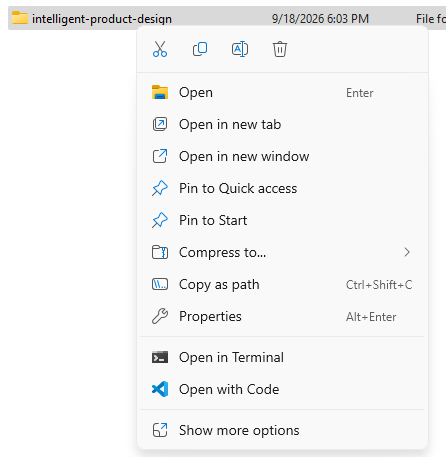
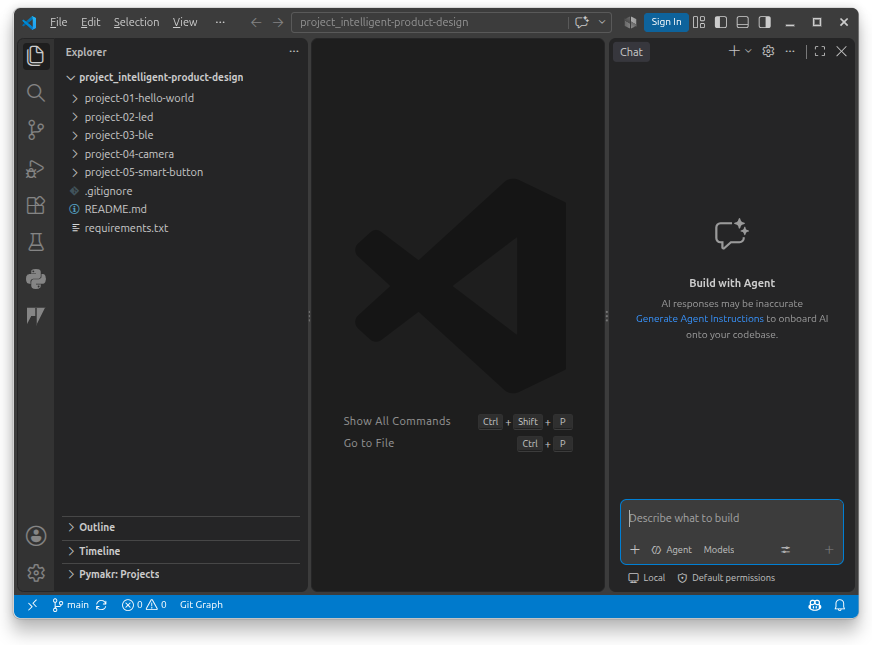
In Linux/Gnome, right click on the folder and select "open --> open with..." and then select "Visual Studio Code" from the list. 1. If you don't wish to use co-pilot, select "continue without signing in" 1. Select your color preference 1. The workspace should open up, but the folder is not in trusted mode. Click on the "manage" link in the top banner

-
Select "Trust"
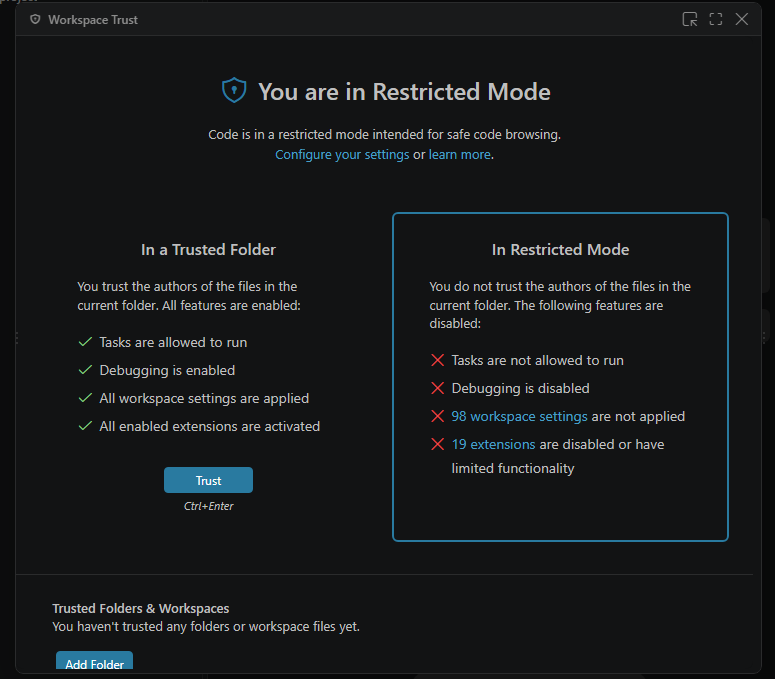
-
Select allow
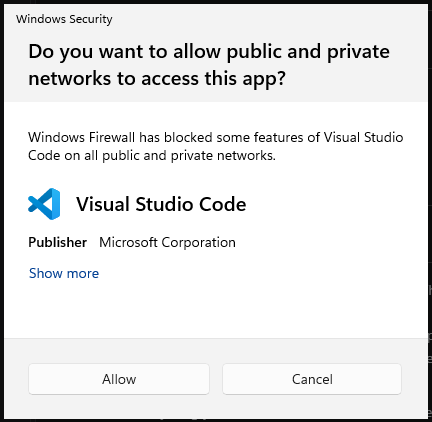
-
Create a Virtual Environment
-
Create a new file with
ctrl+nand paste in the following:esptool thonny bleak -
Save as
requirements.txt -
type
ctrl+shift+pto open the command bar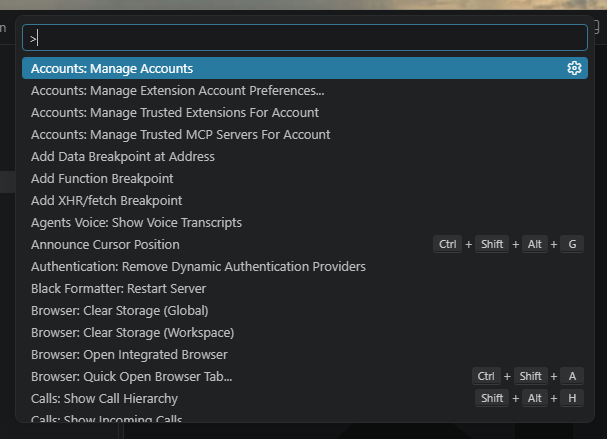
-
in the command bar, type "create environment" and select "Python: Create Environment" when it appears.
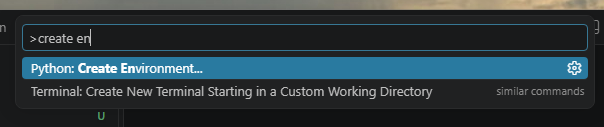
If you have more than one folder open in the explorer window, it will ask which folder to apply the virtual environment to. Select your project folder,
intelligent-product-design -
Select "quick create" to create a new python environment and install all project dependencies in requirements
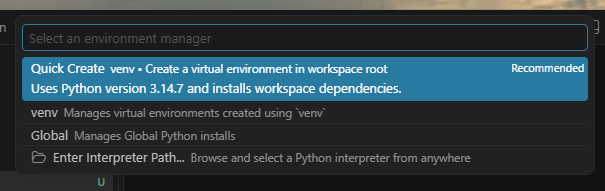
This process could take a few minutes, so be patient. When complete, you should see a message and a new
.venvfolder in the file explorer.
If you ever need to switch environments, use
ctrl+shift+pand search for "python: select interpreter". This will allow you to re-select the proper environment per top level folder in your project explorer window.
Initialize Git
-
First, create a new file (
ctrl+n) and save it (ctrl+s) asREADME.md. This, andrequirements.txt, will represent the first contribution to your repository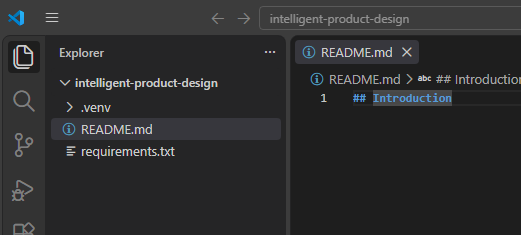
-
Open the version control window using the branch icon in the vertical ribbon on the left side of the workspace, or
ctrl+shift+g.

- Select Initialize Repository to create a new empty repository and then "publish to github" in order to connect to your github account and create a new repository
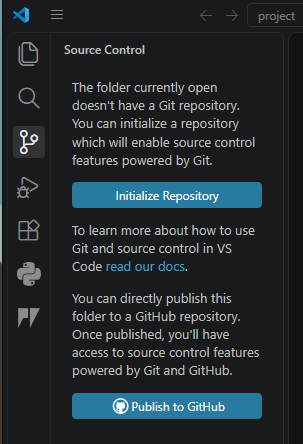
-
You will now add your first file to your first "commit" to your repository. Select the plus icon next to "hello.txt", as seen below. This will "stage" your file
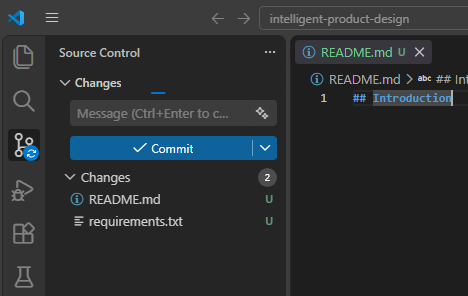
-
Next, type a message into the window (I typed "first commit") and select "commit". This will create a "commit" from the files you "staged".
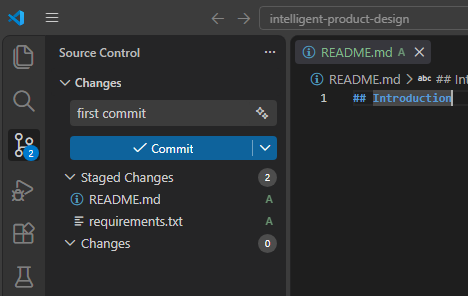
-
Select "Publish Branch"
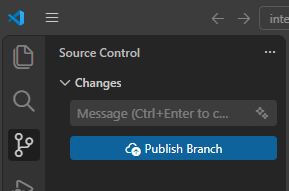
-
Press "Allow" to continue signing in
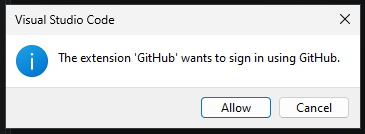
-
You will be directed to sign in to github.
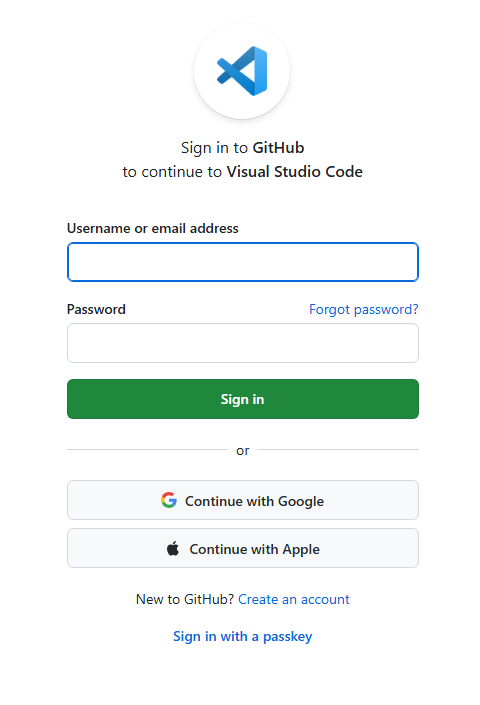
-
Once you have finished logging in, authorize github to connect VSCode to your account:
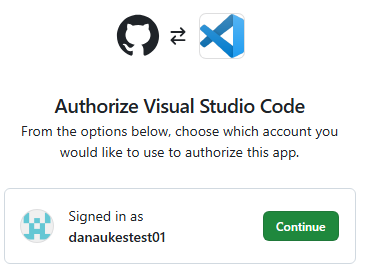
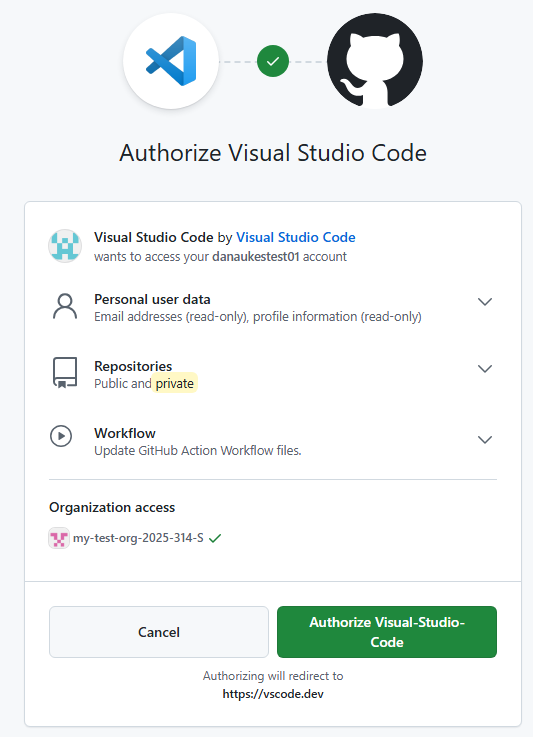
-
Sellect open to let your browser connect back to VSCode, checking the "always" box.
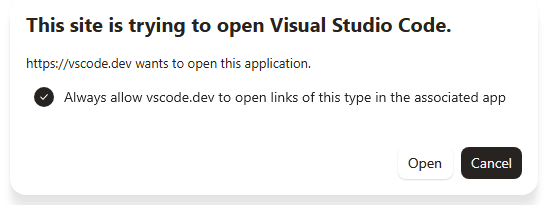
-
Type the name of the repository you want to create in the top ribbon (selecting "public" or "private"), and then hit enter:

-
At this point, VS Code will ask for more permissions. Click through to authorize.
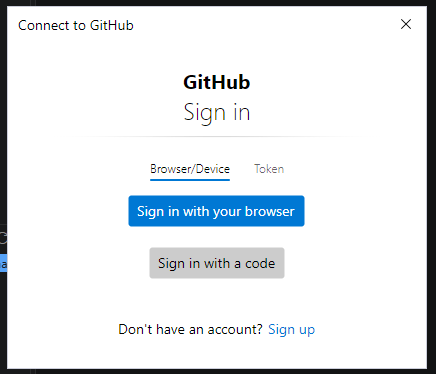
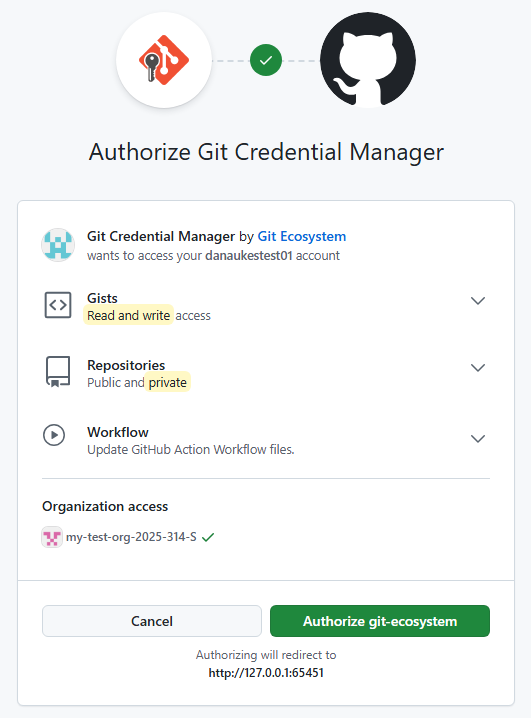
-
Once complete, you will be notified that the repository has been published.The "commit" button should also gray out, indicating you have no more changed files:
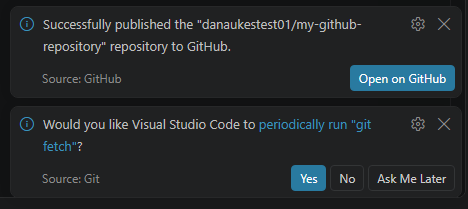
-
Click on the small git icon (
 ) next to "changes" in the source control window. If you don't see the icon, resize the source control window until you can see it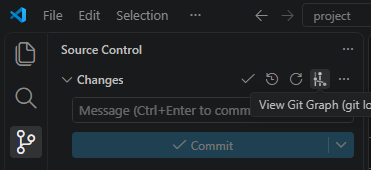
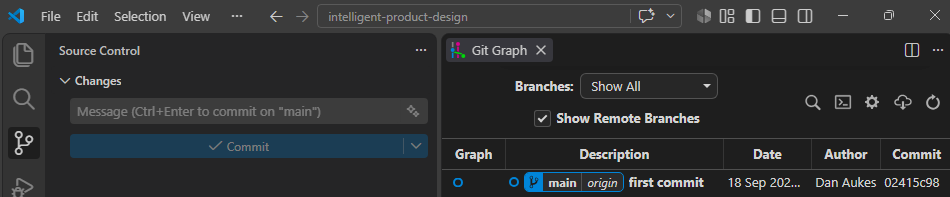
This should open up your git history, which is useful to browse to see more information about the changes you've made to your repository. All we see for now is your first commit